Staining and sealing grout transforms tired tile surfaces into fresh, clean-looking floors and walls. Learning the proper technique helps you achieve results that rival any professional grout repair company. This guide walks you through each step, from picking the right stain to maintaining your sealed grout. You’ll learn how to work efficiently and avoid common mistakes. With the right approach, you can get pro-level results on your own.
Choosing the Right Grout Stain
Select a grout stain color that complements your existing tile. The stain should match the overall look of your room and make the tile stand out. Ensure the color doesn’t clash with what’s already there; it should enhance the overall space. Verify that the grout stain is compatible with your type of tile, as different tile types require distinct stain formulas. By considering these details, you’ll select a stain that complements your tile perfectly and enhances the room’s appearance.
Preparing the Grout Surface
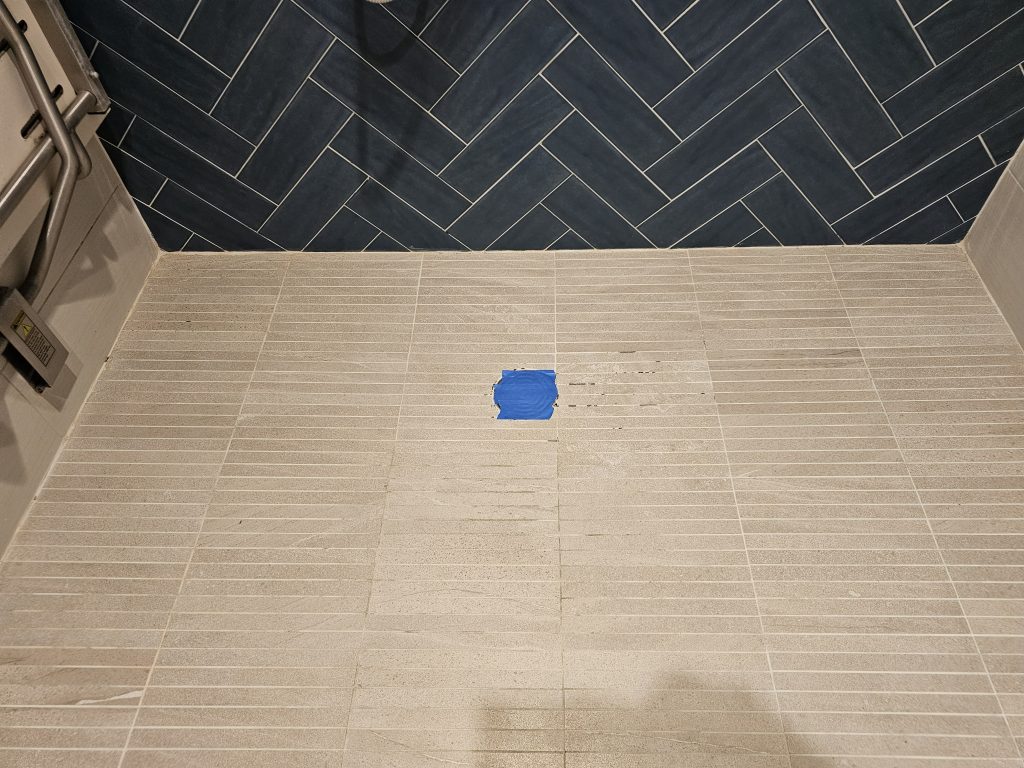
Clean the grout surface thoroughly before applying any stain or sealer. The grout lines must be completely free of dirt, debris, and old sealant for the new products to function properly. Scrub the grout with a grout cleaner and stiff brush, removing any mold or mildew you find. Rinse everything thoroughly and let it dry completely before proceeding. Look for cracks or damage in the grout lines that need fixing before you stain. Use painter’s tape to protect nearby surfaces from accidental staining. Taking time to prep properly gives you a professional-looking finish.
Applying the Grout Stain
After cleaning and prepping, you’re ready to apply the grout stain to refresh your grout lines. Work in small sections to maintain even coverage and prevent the stain from drying too quickly. A grout stain applicator or small paintbrush helps you cover the grout lines precisely. Follow the manufacturer’s directions for application time and any special techniques specific to your stain. Let the stain set for the recommended time, then wipe off extra stain with a clean, damp cloth. This careful process creates a professional, long-lasting finish.
Sealing the Grout Lines
Sealing the grout lines is the last step to protect and complete your grout surface. Make sure the grout is totally dry before you start sealing. Use a clean brush or roller to apply grout sealer evenly across all the grout lines. Allow the sealer to soak into the grout for the time recommended by the manufacturer. Wipe any extra sealer off the tiles before it dries to avoid a cloudy film. After the first coat has dried, apply a second coat for optimal protection. Properly sealed grout resists stains, moisture, and discoloration, thereby extending the life of your grout.
Cleaning Up Excess Stain
After applying the sealer, carefully clean up any extra stain for a perfect finish. Check the grout lines for sealer that spilled onto the tiles. Use a clean, dry cloth to gently wipe away any excess sealer from the tile surface. Pay special attention to corners and edges, where extra stain tends to accumulate. For tough spots, use a soft-bristled brush to carefully remove excess stain without hurting the grout. Being precise in this step gives you professional-looking results.
Maintaining Your Sealed Grout
Clean your sealed grout regularly with a gentle pH-balanced cleaner to keep it looking good and lasting longer. Avoid harsh chemicals that break down the sealant over time. For tougher stains, use a soft-bristled brush or sponge to gently scrub the grout. Check the grout regularly for signs of wear or damage, such as cracks or discoloration, and reapply sealant as needed. Don’t use rough tools that could scratch the sealed surface. Consider resealing your grout annually to maintain its water-resistant protection. Following these maintenance tips keeps your sealed grout looking fresh and protected for years.
Related Topics: